Installing a car seat period can seem like a daunting task, but installing one on a plane, when you have limited time and the pressure of dozens of people trying to get seated while you are installing the car seat, can seem overwhelming.
For the most part, installing the car seat in the plane, though, is a lot like installing it at home with the lap belt. Read the installation instructions carefully and try it a few times at home before you get onto the plane. This way, you’ll be familiar with the process and able to quickly install the seat on the plane.
You can also check into family pre-boarding. Not all airlines extend courtesy boarding for families anymore, but many still do (Southwest!), and even for airlines where there is no stated policy of allowing family boarding, it never hurts to ask the gate agent if it would be possible for you to board early. If you can’t board early, and you don’t have a lot of carry-on luggage or the flight is not very full, consider waiting until the plane is already mostly boarded before getting on yourself.
Below, I’ve shared general instructions for how to install car seats on planes, including forward- and rear-facing car seats and the CARES system, which is an FAA-approved safety restraint for older children.
Forward-Facing Car Seat:
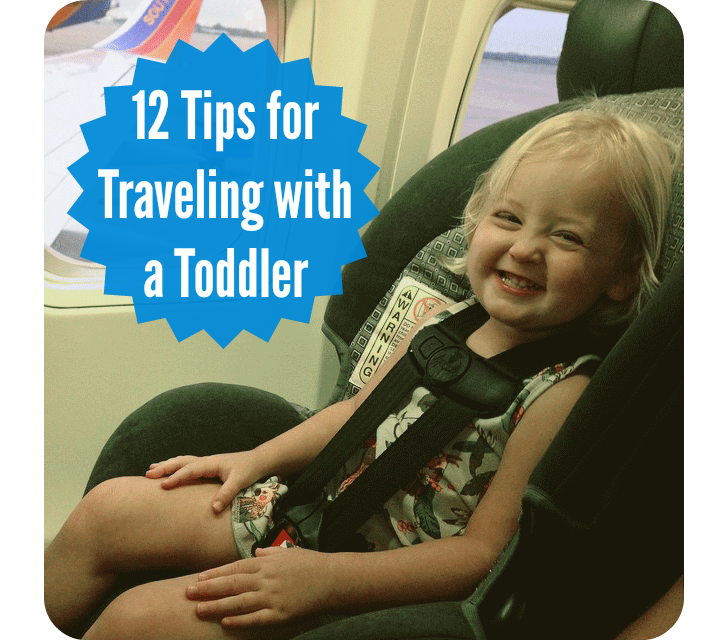
The FAA has a great video showing how to install a forward-facing car seat on an airplane. Of course, you’ll never have as much room as the mom featured in the video, but at least you get the idea. The general steps are:
- Raise the arm rests. (Will not be an option in bulkhead seats. See if your car seat will work without raising the arm rests.)
- Put the car seat in the plane seat facing forward.
- Thread the seat belt through the belt path.
- Latch the buckle.
- Push down on the car seat as you tighten the belt buckle to get the seat in as tight as you can.
- Using both hands, grab the car seat near the base and try to move it back and forth. If you can move the car seat more than an inch, you will need to tighten the car seat more.
- Once the car seat is tight enough, lower the arm rest again if you can.
- Place child in the car seat.
A tip for getting the car seat in tightly: start with the seat reclined, and lean up once you get the seat buckled in.
A common problem with forward facing seat belts is that sometimes, on some car seats, it can be difficult to get the belt unbuckled as the flap to unlatch the belt points into the seat. Tips to avoid this problem:
- Request a seat belt extender from the flight attendant.
- If there are no available seat belt extenders, flip the female end of the buckle so that the flap to unlatch the buckle points toward the seat back.
Rear-Facing Car Seat:
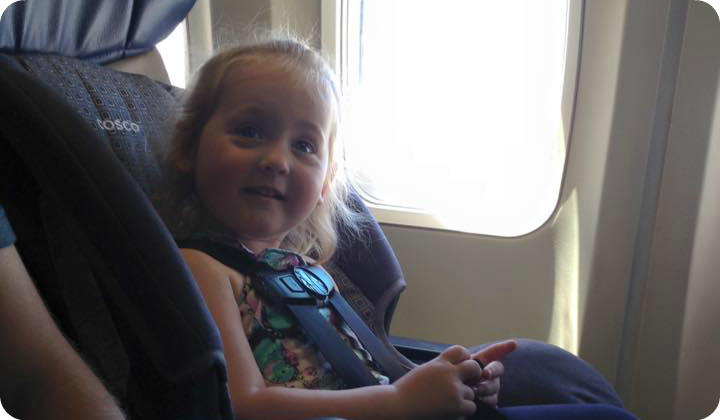
When installing a rear-facing car seat on a plane, you will want to use the same instructions you would normally use for installing your rear-facing car seat in a car using the lap belt.
- Lift the arm rests, just as you would with a forward-facing seat.
- Put the car seat in the plane seat.
- Check to make sure the seat reclines the right amount. If not, it’s a good idea to bring a pool noodle cut down to a little more than the width of the base of your car seat to use under the base to
- Thread the belt through the belt path.
- Latch the buckle. You don’t have to worry about flipping the buckle on rear-facing, because the flap on the belt should lift toward you, away from the seat, already.
- Push down and in on the seat as you tighten the belt to get the seat in as tightly as possible.
- Using both hands, grab the car seat near the base and try to move it back and forth. If you can move the car seat more than an inch, you will need to tighten the car seat more.
- Once the car seat is tight enough, lower the arm rest again if you can.
- Place child in the car seat.
If you absolutely can’t get your car seat installed rear-facing on the plane, try installing it forward-facing before making the decision to stow it. Even if your child is generally too small to ride forward-facing, being buckled in forward-facing on a plane will still be helpful in the event of severe turbulence.
CARES:
If you have a child who is 2-4 years old, weighs between 22 and 40 lbs., and is less than 40″ tall, consider using the CARES system. They are less bulky than car seats and a good option for keeping children safely restrained in a plane seat. This video provides excellent instructions on installing a CARES system on a plane.
Read on to find out the best car seats on airplanes and how to transport your car seat in the airport.
* This post originally ran on May 30, 2013. It was edited and republished on September 1, 2014 and July 17, 2015.


Really useful article! Thanks for sharing this information 🙂
I had never thought about asking for a carseat extender. I know last time we did this, that would have made all the difference
Perfect. I’m taking my baby’s car seat next time we fly.
This is so helpful! Thank you! I always worry about the time it takes to install the car seat while everyone is streaming onto the plane behind me.
We haven’t flown very often with kids, but we’ve never flown with a carseat. I’ve wondered how to install car seats and which ones will fit best in the tiny airline seats. Thanks for the info!
What kind of car seat do you recommend we get if we plan to travel by plane a lot? I’m thinking of the Diono Radian (#6 on this page), but it’s a bit on the expensive side.
The Diono Radian is expensive, and it’s also heavy, which makes it less than ideal for trekking all over airports. If you already have a Diono Radian, which is a great car seat, it will definitely fit in plane seats. Otherwise, I recommend the Cosco Scenera Next. It fits in a plane seat, is light weight and easy to transport around the airport, and it’s inexpensive. You can get it under $40, making it more acceptable to buy as an extra car seat you only use while traveling.